
Transplanting roses, a beloved staple in gardens worldwide, may seem daunting, but with the right guidance, it can be a rewarding endeavor. In this article, “How to Transplant Roses,” we’ll uncover the secrets to ensuring your roses thrive in their new location. Whether you’re relocating an entire rose bed or just moving a single cherished plant, understanding the best practices can make all the difference.
Imagine the satisfaction of watching your roses bloom in their new home, flourishing and adding beauty to your garden for years to come. Join us as we delve into the essential steps and expert tips for a successful rose transplant, transforming what might seem like a challenging task into a straightforward and enjoyable gardening experience.
How To Transplant Roses: Expert Guide
We’ll discuss the topic step by step. So, bear with us, and let’s dive into it:
Essential Preparations Before Transplanting Roses
Before embarking on the task of transplanting roses, it’s crucial to prepare both the plant and the new location to ensure a successful move. Begin by choosing an optimal new site for your roses, one that receives at least six hours of sunlight daily and has well-draining soil. Prepare the new planting hole in advance, making it twice as wide and deep as the root ball of the rose to provide ample space for roots to spread. Water the rose thoroughly a day before the transplant to reduce transplant shock and ease the removal process. Prune the rose bush by trimming back about one-third of its height, focusing on removing any dead or damaged branches. This step minimizes stress on the plant and encourages healthy new growth.
Next, gather the necessary tools, including a sharp spade, gardening gloves, and a tarp or wheelbarrow for transporting the rose. Carefully dig around the base of the rose, starting at least 12 inches from the stem to avoid damaging the roots. Gently lift the rose from the ground, preserving as much of the root ball as possible. Keep the roots moist by wrapping them in damp burlap if there’s a delay in replanting. Finally, add a layer of compost or rose-specific fertilizer to the new hole to enrich the soil and support the rose’s transition. By meticulously preparing beforehand, you set the stage for your transplanted rose to thrive in its new home.
Optimal Seasons for Transplanting Roses: Fall or Spring?
Choosing the best time to transplant roses is crucial for their survival and future growth. Both fall and spring offer unique advantages. In the fall, the cooler temperatures reduce transplant shock, allowing roots to establish before winter. Typically, late September to early November is ideal, as the soil is still warm from summer, promoting root growth without the stress of intense heat.
Spring transplanting, usually from late March to early May, is another excellent option. As the soil warms up, roses awaken from dormancy and can quickly adjust to their new environment. This period offers the benefit of an entire growing season ahead, providing ample time for the plants to establish and thrive. However, it’s essential to complete the transplant before the intense summer heat sets in to avoid stress on the plants.
Ultimately, the choice between fall and spring depends on your specific climate and gardening schedule. Both seasons can be successful with proper preparation and care. Ensuring the soil is well-drained, adequately mulching, and watering consistently are key practices regardless of the season. By understanding the benefits of each period, you can make an informed decision that best supports your roses’ health and beauty.
Step-by-Step Guide to Transplanting a Rose Bush
Transplanting a rose bush might seem like a challenging task, but with careful planning and execution, you can ensure your roses adapt well to their new environment. Follow these steps to achieve successful transplantation.
Preparation
Start by choosing the right time to transplant. The best times are during the dormant periods in early spring or late fall. This reduces the stress on the plant. Prepare the new site by ensuring it has well-draining soil and receives at least six hours of sunlight daily. Dig a hole that’s twice as wide and just as deep as the root ball of the rose bush.
Pruning and Watering
Before transplanting, prune the rose bush to reduce its size by about one-third. This helps the plant focus its energy on root development. Water the bush thoroughly a day before the move to ensure the roots are hydrated and more pliable.
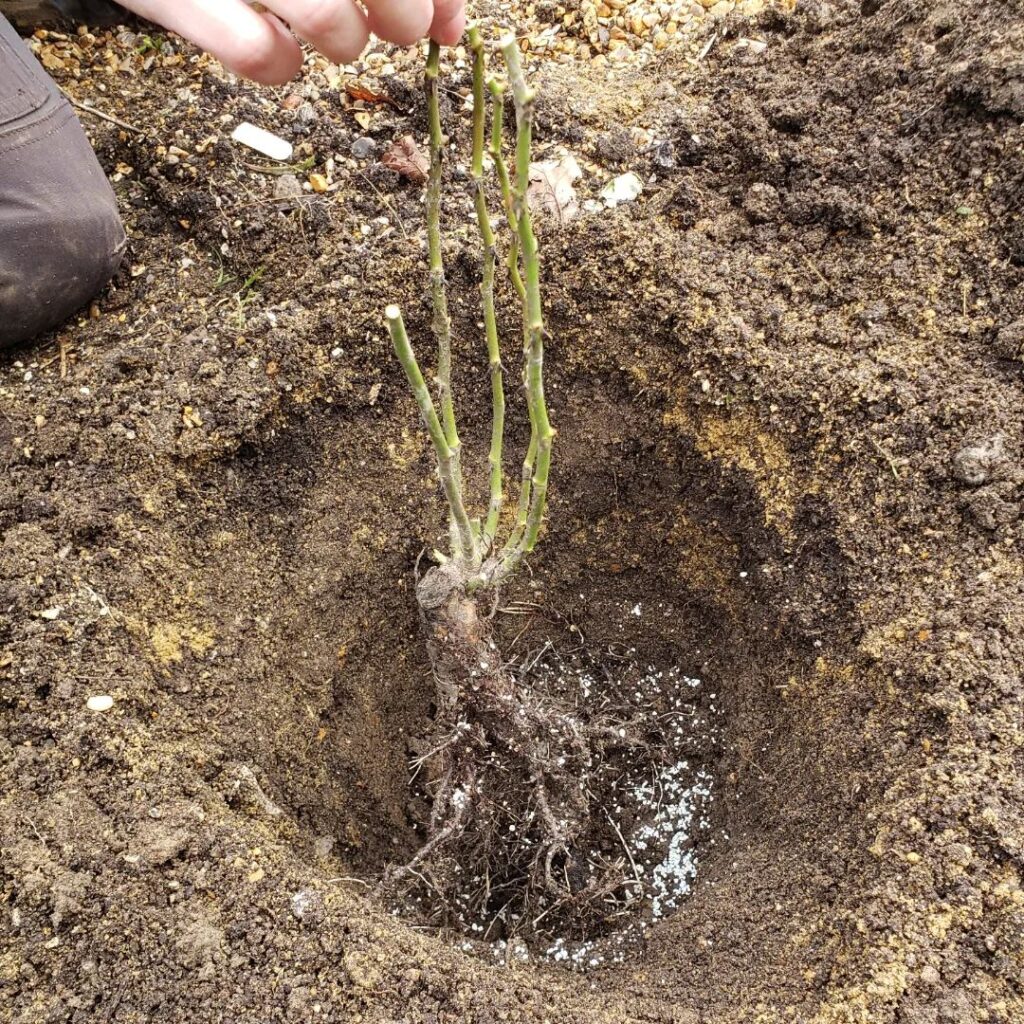
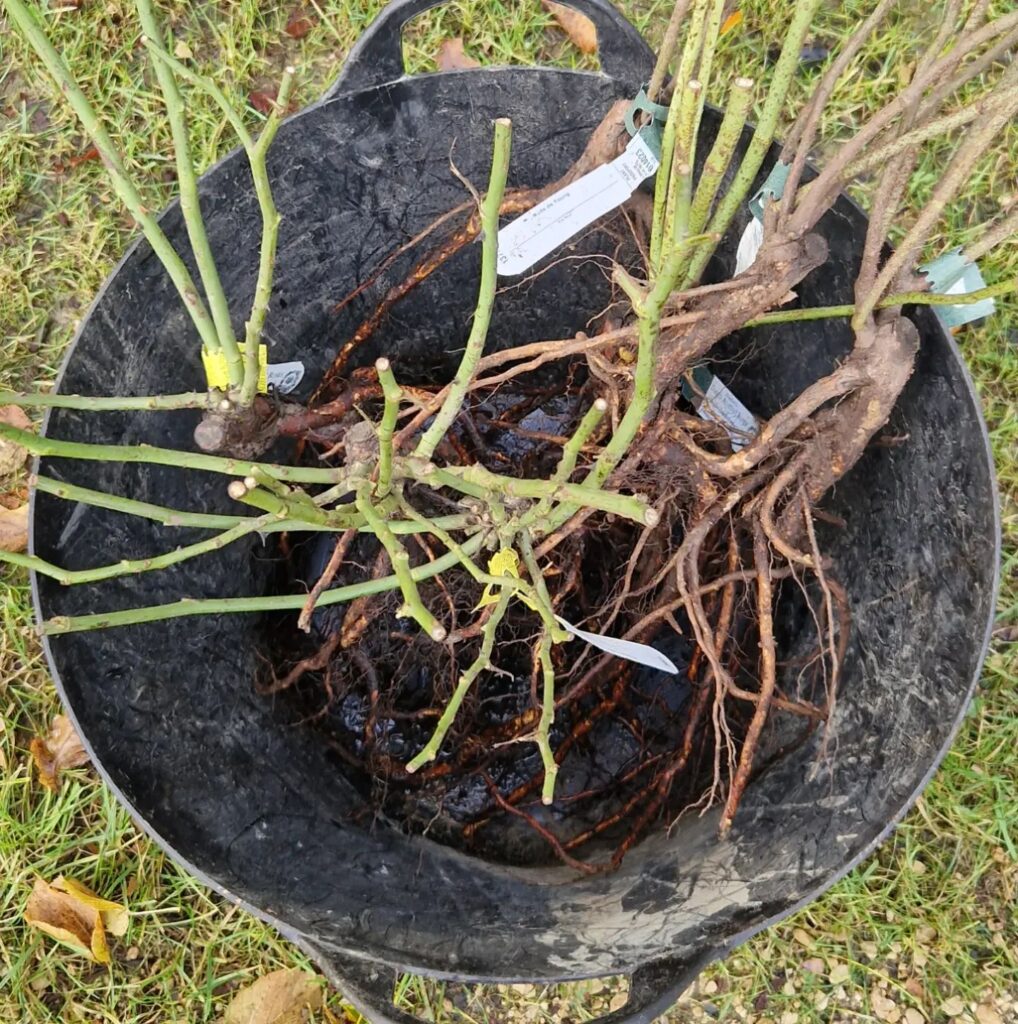
Digging Up the Rose Bush
Carefully dig around the rose bush, starting about 12 inches from the base to avoid damaging the roots. Gently lift the plant from the ground, keeping as much of the root ball intact as possible. If any roots are damaged, trim them cleanly with a sharp tool.
Transplanting
Place the rose bush in the prepared hole at the new site. Ensure the root ball is level with the surrounding soil. Backfill the hole with soil, pressing down gently to remove air pockets. Water thoroughly to settle the soil around the roots.
Post-Transplant Care
After transplanting, water the rose bush regularly to help it establish in its new location. Mulch around the base to retain moisture and regulate soil temperature. Monitor the plant for signs of stress, such as wilting or yellowing leaves, and provide additional care as needed.
Final Tips
Be patient, as it may take a season or two for the rose bush to fully recover and thrive in its new spot. Regular maintenance, such as watering, fertilizing, and pruning, will support healthy growth and beautiful blooms.
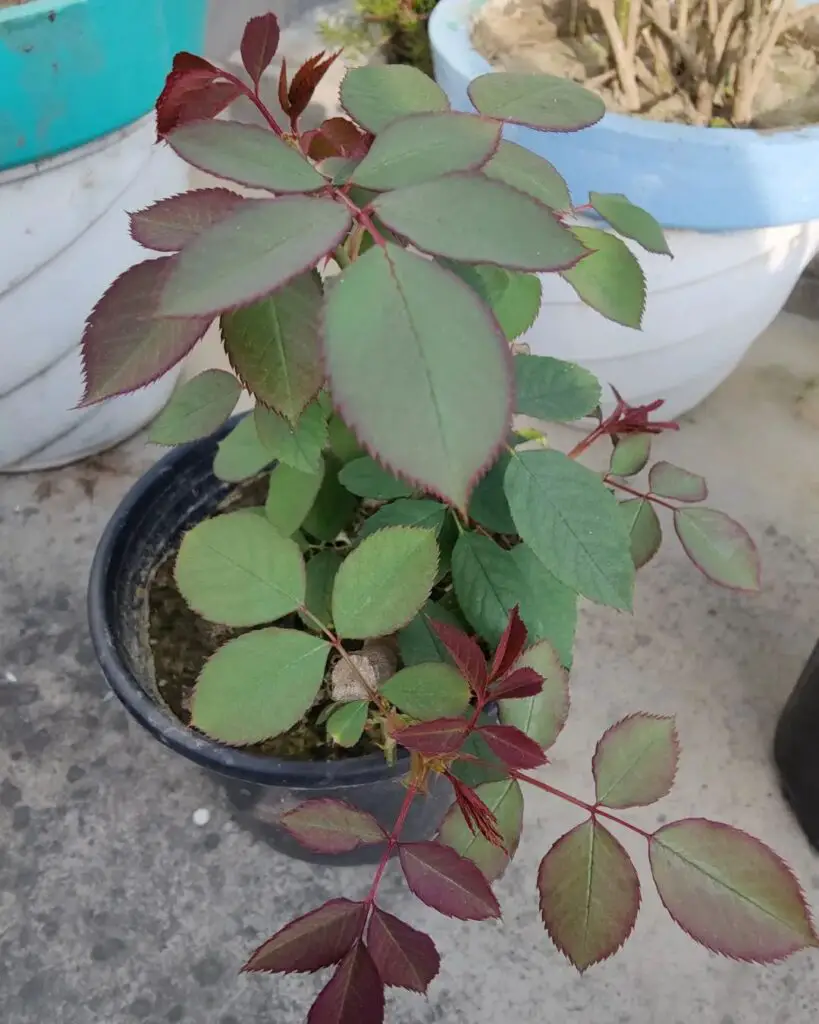
Transferring Roses from Pots
Transplanting roses from pots to the garden involves careful preparation to ensure the plants thrive. Start by choosing a suitable location with well-drained soil and at least six hours of sunlight. Water the rose thoroughly in its pot before transplanting to reduce shock.
When transferring, gently remove the rose from the pot, being careful not to damage the roots. Dig a hole twice the size of the root ball, place the rose in the center, and fill it with soil, ensuring the crown is level with the ground. Water deeply to help the roots establish.
Frequently Asked Questions
How do I prepare the soil for transplanting roses from pots?
To prepare the soil, ensure it is well-drained and rich in organic matter. Amend the soil with compost or well-rotted manure to enhance fertility. Test the pH level, aiming for a slightly acidic to neutral range (6.0-7.0). Proper soil preparation ensures healthy root development and vibrant blooms.
What is the best time to transplant roses from pots?
The best time to transplant roses is during the dormant season, typically in early spring or late fall. This timing reduces stress on the plant and allows the roots to establish before the growing season begins. Avoid transplanting during extreme heat or cold to prevent shock and ensure successful growth.
How do I care for roses after transplanting?
After transplanting, water the roses deeply and regularly to help establish roots. Mulch around the base to retain moisture and regulate soil temperature. Prune any damaged or weak stems to promote healthy growth. Monitor for pests and diseases, and provide balanced fertilization as needed to support vigorous blooms and foliage.
Conclusion
Transplanting roses, though initially intimidating, becomes a straightforward task with proper preparation and care. By selecting the right location, preparing the soil, and following best practices, you can ensure a successful transition for your roses. Remember to water deeply, mulch, and monitor for any signs of stress or pests. With these steps, your transplanted roses will thrive, adding beauty and vibrancy to your garden for years to come.

I’m Shofi, a passionate gardener and blogger. I have 10+ years of experience in gardening and hold certifications in horticulture and garden design. I share my knowledge and skills through my garden blog to inspire and educate others on the joys of gardening. I try to provide valuable information and create a community for gardeners of all levels to connect and learn. My ultimate goal is to inspire others to start their own gardens and connect with nature.