If you are concerned about animals like dogs, rabbits, or insect aggression ruining your garden, you should construct a barrier around the circumference of your garden. Wood is the ideal material for garden enclosures compared to brick and cement walls, weed, netting, plastic, metal, and other barrier options.
Installing a wood barrier for gardens is a relatively easy task that requires selecting sturdy and durable wood, slicing them into equal sizes, digging the soil by following the line paths, and settling the wood slices in a compact series vertically as a pillar.
Following that, you may bind the wood slices together by putting horizontal wood slices and attaching nails or tying all of the wood with durable nylon rope.
Wood Barrier for Garden

The wood barrier for the garden is one of the best ways to protect your garden from all types of problems such as animals or insects feeding or destroying the plants etc. From another viewpoint, wood barriers are comparatively less expensive and time-consuming to build in the garden.
Again, sometimes it will be too efficient when you decide to move your house; you can pull out the whole wood strips and re-install your new house garden. From that perspective, the wood barrier is so compatible for the gardeners to move on anytime.
Sometimes you can create a small wood barrier for the bed of your plants; in such cases, the wood barrier is most utile to implement for an easy settle down for the plant’s bed. You can also apply adequate mulch, which may not scatter around the garden.
Apart from brick or net barrier, the wood barrier enhances the spectacular appearance of the garden by creating a forest environment that blends in with the garden’s vegetation. A solid and robust wood barrier will survive for a long time.
How to Use Wood Barriers in The Garden
Choosing Sturdy and Durable Wood
Using sturdy and durable wood for the barrier’s construction is crucial. It may endure for a long time in your garden if it is not severely damaged.
Cut The Wood into Several Pieces or Strips
Slicing the wood into multiple pieces or stripping as much as needed for the circumference of the garden. You must also level them at equal size and clear all the corners.
Shaping and Rubbing the Strip
After slicing the strip, give it a form since it seems identical after settling them in a line. Then, rub each strip well so that the sharp edge does not damage or injured anyone.
Create Multiple Strips to Attached Vertically
Create multiple comparatively large strips to unite all of the strips vertically, building as a pillar. The vertical pillar will have settled among the other strips.
However, it greatly supports sustaining the entire barrier to a standstill. The strips get strength and uphold cogency by being attached to the vertical strip.
Make a Few Strips to Attach Horizontally
Create additional long strips to connect all of the strips horizontally. The strips obtain stiffness and uniformity when they are nailed to the horizontal stripes.
On the contrary, if you want to reduce cost, you may attach them using strong nylon rope. However, adding horizontal strips improves sturdiness.
Excavate a Linear Shallow Trench
Following the expansion of the strips, a linear shallow trench must be dug to build and consolidate the base level. Because as much the ditch will be shallow, the barrier will come to remain strong at its point.
When constructing a barrier for the plant’s bed, you do not need to dig a profound trench. Because the strip for the bed does not require much time to construct, you only need to excavate around one-fourth of the length of the strip.
Paint the Wooden Barrier
You can either paint the whole wood barrier to create the vibe of the forest. It may enhance the appearance of your garden.
Types of Wood Barriers for The Garden

There are many types of wood barriers designed for use in the garden. Some of them are given below
Woven Wood or Bamboo Trellis Barrier
Woven wood or bamboo trellis barrier is created both for protecting the aggression from animals and for the climbing plant such as gourd, cucumber, peas, and so on.
Planter Wall Wood Barrier
The planter wall wood barrier is for decorative or ornamental gardens for hanging a full vase or tub with plants. It is typically used in smaller gardens or decorative places.
Post Cap Wood Barrier
Post cap wood barrier has popularity among gardeners, especially if it’s best fitted in front of a small house yard. It has a beautiful appearance to accommodate the garden flower.
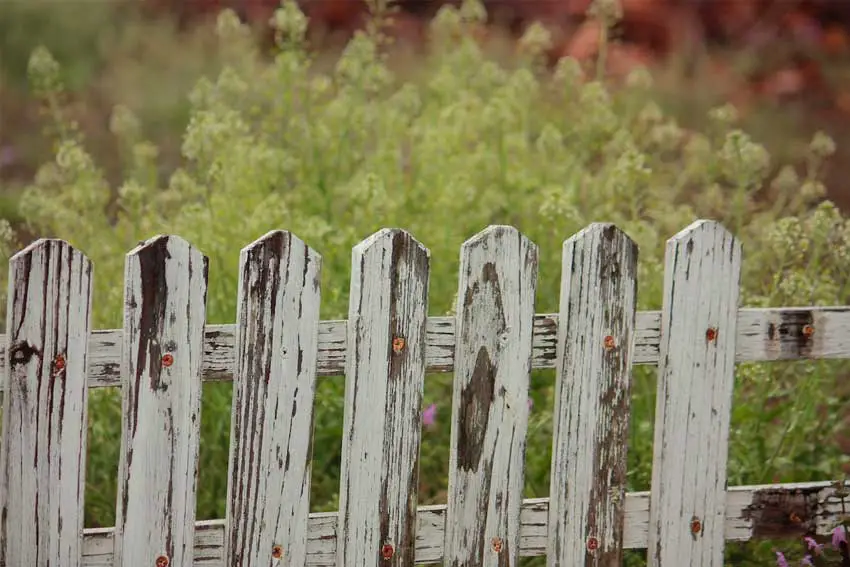
Small Picket Wood Barrier
A tiny picket wood barrier is employed in the cottage, and it has a lovely aspect that complements the flower bed. Animals cannot cross it, and the apex is designed to remain sharp so that no one can cross it.
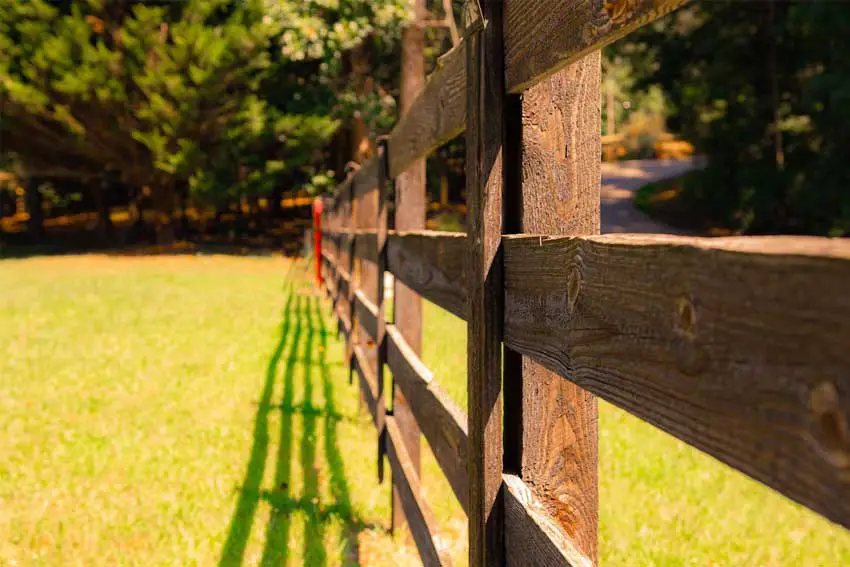
Long Rail Wood Barrier
If you have an enormous garden, you can choose a long rail wood barrier. There is a gap between the strips, which is designed to protect from animals.
Benefits of Using Wood Barriers in The Garden
A garden barrier is essential for protecting plants from the aggression of animals, insects, and others. You may create a wood barrier in your garden that is both cost-effective and attractive.
Apart from a brick barrier or others, a wooden barrier is environmentally friendly and simple to construct in your yard. Again, the wood barrier accord with the appearance of the garden.
One of the most practical perspectives of wood barriers is you can uninstall the whole barrier easily, and again easily install another place when you shift your house.

Disadvantages of Using Wood Barriers in The Garden
While wood barriers have many advantages, they also have some drawbacks. The wood may become moist and moldy after many days remaining in the rainy season.
Afterward, the wood lost its durability and therefore may easily be broken. If a strip breaks, you need to reconstruct the same design to reattach them.
Choosing sturdy wood for the barrier variably may be costly. The wood barrier, which deteriorates with time, is typically barren for the garden.
Recommendation of Some Quality Wood Barriers
The wood barrier is ideal for enclosing your garden. As a result, you must use robust and solid wood for the garden; otherwise, animals will quickly break down the strip.
The excavation for putting the strip should be deep enough to prevent the basement from being weakened. The distance between the strips should be minimal, as no animal can enter from there.
The strip’s junction should be strongly linked; if it weakens, the strips will depart from each other. Nailed the wood strip carefully as it perfectly install the strips.
Apply mulch thoroughly with the soil before creating the barrier for your plant bed, and keep the bed several inches high. In the instance of a bed for the wood barrier, don’t keep any spaces between the strips; instead, attach them densely.
You can also use this barrier between a fence and soil in your garden.
Summary of Wood Barrier for Gardens
The wood barrier is always an attractive item for both the enclosure and decoration of your garden. Compared with the brick barrier, netting, or others, the wood barrier is cost-effective and holds a beautiful appearance in the garden.
To construct a wood barrier in the garden, you need to choose sturdy and durable wood, split them into equal sizes, excavate the soil by a linear shallow trench, and place the wood slices in a compact series vertically as a pillar, ether you can attach them bind with nylon rope, but nailing is better for adjoin the strip.
A short video on wood barriers or edging:

I’m Shofi, a passionate gardener and blogger. I have 10+ years of experience in gardening and hold certifications in horticulture and garden design. I share my knowledge and skills through my garden blog to inspire and educate others on the joys of gardening. I try to provide valuable information and create a community for gardeners of all levels to connect and learn. My ultimate goal is to inspire others to start their own gardens and connect with nature.
