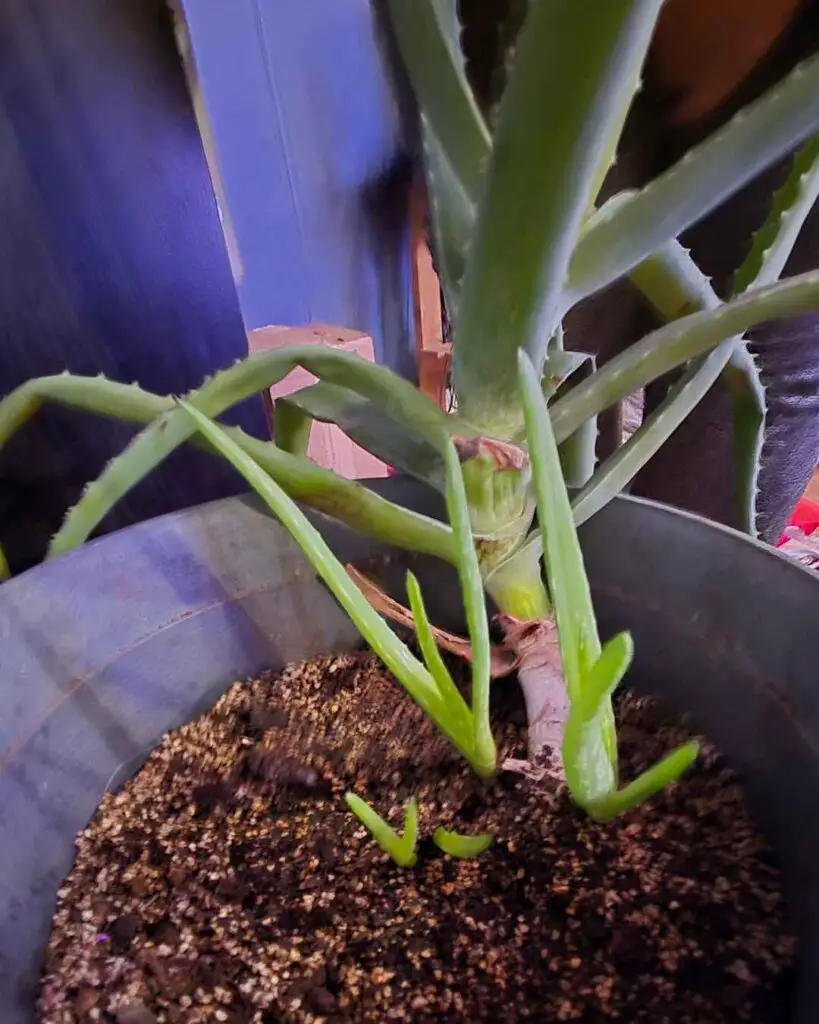
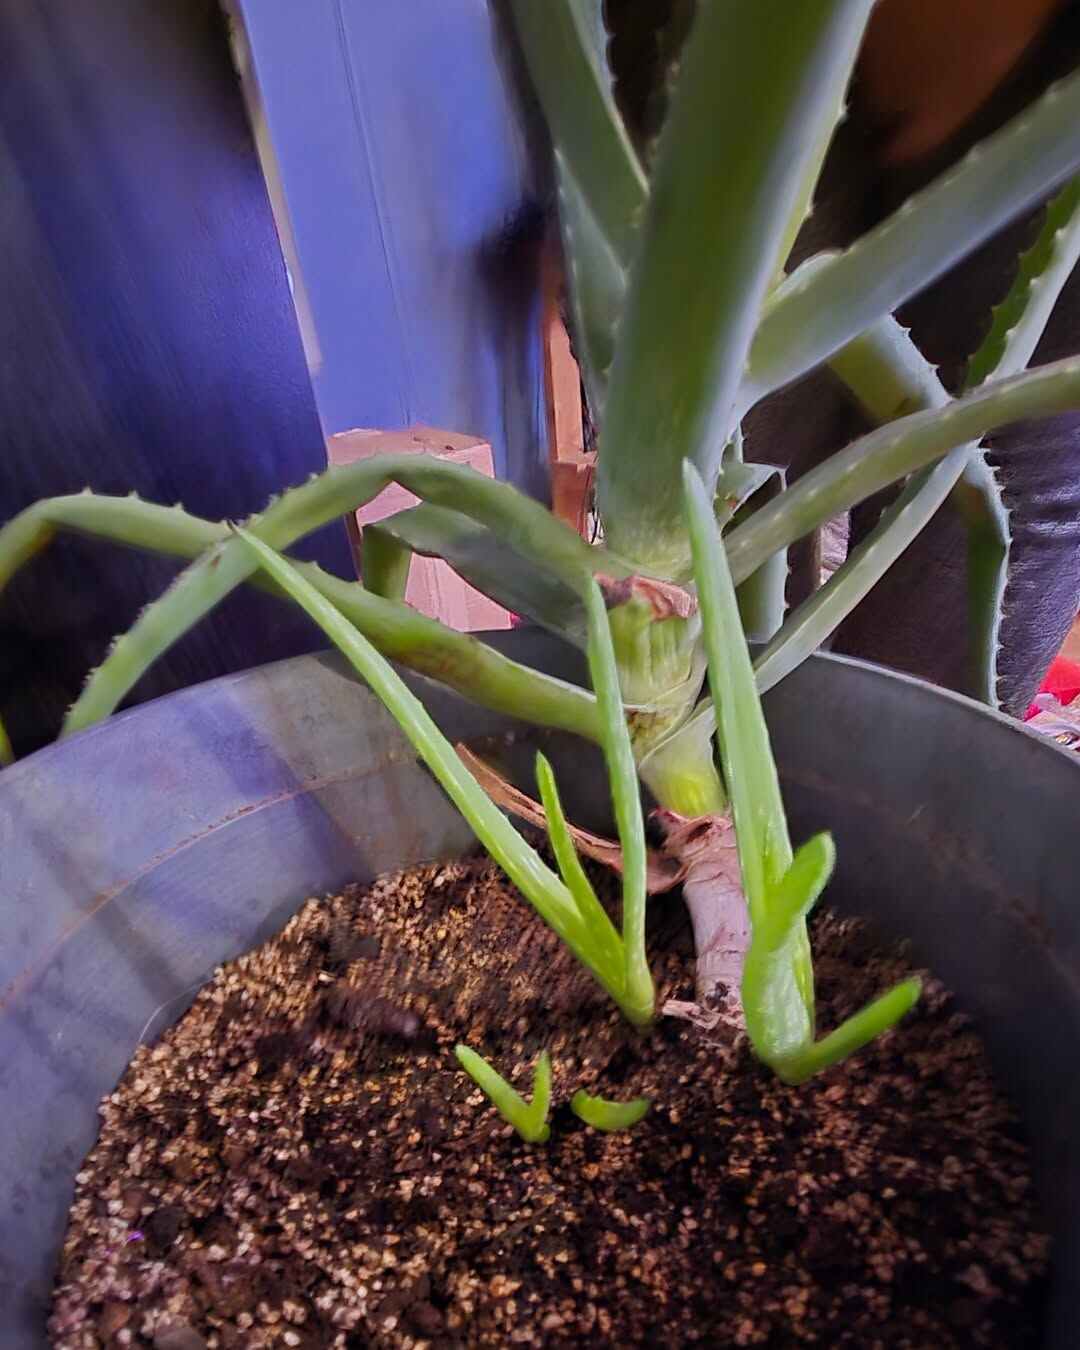
Rooting an aloe vera cutting is an easy way to propagate this versatile and resilient plant. Whether you’re looking to expand your indoor garden or share aloe vera with friends, successfully rooting a cutting can be both rewarding and simple. This article will guide you through the essential steps of rooting aloe vera cuttings, ensuring you get a healthy new plant.
Rooting aloe vera cuttings is an excellent method for propagating this unique succulent. Aloe vera thrives in a range of conditions, and with the right care, you can grow a new plant from a cutting. Whether you’re rooting in water or soil, knowing the steps involved is key to success.

Selecting the Perfect Cutting
When selecting an aloe vera cutting, it’s important to choose a healthy, mature leaf. Here’s how to find the perfect cutting:
- Look for healthy leaves: The cutting should be firm, free of brown spots, and without signs of disease.
- Size matters: Aim for a cutting that’s about 4-6 inches long, as smaller cuttings may not root well.
- Choose a mature leaf: Aloe vera grows best from a mature leaf rather than a young or newly sprouted one.
- Use a sharp knife: Always use a clean, sharp knife to avoid damaging the plant and ensure a clean cut.
Once you’ve selected the ideal leaf, let the cutting sit for a few days in a dry, shaded area. This helps the cut end callous over, preventing rot when you start the rooting process.
Preparing Your Cutting
Proper preparation is essential to ensure successful rooting. Follow these steps to get your cutting ready:
- Let the cutting callous: Allow the aloe vera cutting to dry out for 2-3 days. This helps form a protective layer over the cut end.
- Clean the cutting: Before rooting, ensure there is no dirt or residue on the cutting. Gently clean it with a dry cloth if needed.
- Trim any damaged areas: Inspect the cutting for any damaged or unhealthy parts. Trim these areas carefully to improve the chances of successful rooting.
- Consider rooting hormone: While not necessary, some gardeners use rooting hormone to encourage root development. If you choose to use it, apply it to the cut end of the cutting according to the instructions.
After preparing the cutting, it’s time to move on to the next step in the rooting process.
How to Root Aloe Vera Cuttings in Soil
Rooting aloe vera in soil provides a natural environment for the cutting to develop its roots. Here’s how to do it successfully:
- Select the Right Soil: Aloe vera thrives in well-draining soil. A cactus or succulent mix is ideal, as it allows excess water to escape and prevents root rot.
- Pick a Suitable Pot: Choose a small pot with drainage holes to avoid water buildup. This ensures proper drainage and prevents root damage.
- Plant the Cutting: Insert the calloused end of the cutting 1-2 inches deep into the soil. Ensure the cutting is standing upright.
- Water Lightly: Aloe vera needs minimal water. Lightly moisten the soil, but avoid overwatering. The soil should remain slightly damp.
- Provide Indirect Sunlight: Place the pot in a location with bright, indirect sunlight. Direct sun can dry out the cutting too quickly.
- Wait for Root Development: It may take a few weeks to several months for roots to form. You’ll know it’s working when new growth begins to appear.
This method allows your cutting to establish strong roots naturally, eventually growing into a healthy aloe vera plant.
Rooting Aloe Vera Cuttings in Water
Rooting aloe vera in water is a fast and visible way to grow new plants, but it requires some attention to detail. Here’s how you can root in water:
- Choose a Container: Use a clear jar or glass that holds the cutting and enough water to submerge the base.
- Submerge the Cutting: Place the calloused end of the cutting into the water, ensuring only the base is submerged.
- Change the Water Regularly: To avoid rot, change the water every few days, keeping the cutting in fresh water at all times.
- Place in Indirect Sunlight: Position the jar in a spot with bright, indirect sunlight. Avoid direct sunlight, as it can cause rapid evaporation.
- Monitor Root Growth: Roots will begin forming after a few weeks. Once the roots are a few inches long, the cutting can be transferred to soil for continued growth.
This water rooting method allows you to observe the root development process, but it requires consistent care to keep the cutting healthy.
Transplanting Your Aloe Vera Cutting into Soil
Once your aloe vera cutting has rooted, it’s time to transplant it into soil for continued growth. Here’s how to do it:
- Choose the Right Pot: Select a pot that’s slightly larger than the current root system of the cutting. Make sure the pot has drainage holes to prevent waterlogging.
- Prepare the Soil: Use a well-draining cactus or succulent soil mix. You can also mix regular potting soil with sand or perlite to improve drainage.
- Remove from Water: Gently take the rooted cutting from the water and inspect the roots. If you see any unhealthy or decayed roots, trim them away.
- Plant the Cutting: Place the rooted cutting into the soil, ensuring the roots are well spread out. The cutting should be planted at the same depth as it was in the water.
- Water Sparingly: After planting, water the soil lightly. Aloe vera doesn’t need a lot of water, so only keep the soil slightly moist.
- Place in Indirect Sunlight: Put the newly transplanted aloe vera in a bright, indirect sunlight location. Gradually acclimate it to direct sunlight over time.
By following these steps, your aloe vera cutting will successfully transition from water to soil and continue to thrive.
Caring for Your New Aloe Vera Plant
Once your aloe vera cutting has rooted and been transplanted into soil, it’s important to continue providing the right care for healthy growth. Here’s how to keep your new aloe vera thriving:
- Watering: Aloe vera plants prefer infrequent watering. Allow the soil to dry out completely between waterings. In the warmer months, water once every 2-3 weeks, and in winter, reduce watering even further.
- Sunlight: Aloe vera loves bright sunlight. Place your plant in a spot that receives at least 6 hours of indirect sunlight daily. If grown indoors, a south or west-facing window works well.
- Temperature: Aloe vera thrives in temperatures between 59°F (15°C) and 77°F (25°C). Avoid placing it in areas where it will be exposed to drafts or extreme cold.
- Fertilization: Fertilize aloe vera once during the growing season (spring to summer) with a balanced, diluted fertilizer. Aloe vera doesn’t require frequent feeding.
- Repotting: Aloe vera grows slowly, but as it matures, it may need a larger pot. Repot when the roots outgrow the current container, typically every 2-3 years.
With consistent care, your aloe vera plant will grow strong and healthy, ready to provide its beneficial properties for years to come.
Handling Common Issues with Aloe Vera Cuttings
While rooting aloe vera is generally simple, there are a few common issues you may encounter. Here’s how to handle them:
- Root Rot: This is a common problem, especially when aloe vera is overwatered. To prevent root rot, ensure the cutting is placed in well-draining soil and never left sitting in water.
- No Rooting: If your aloe vera cutting isn’t rooting after several weeks, check the moisture level of the soil or water. Too much moisture can hinder root development. Make sure the cutting is in a warm, sunny spot.
- Yellowing Leaves: Yellowing leaves can indicate overwatering, poor drainage, or insufficient light. Adjust watering habits and place the plant in a brighter location to address this issue.
- Pests: Aloe vera is generally pest-resistant, but it can sometimes attract aphids or mealybugs. Treat any infestations with insecticidal soap or wipe the leaves with a damp cloth to remove pests.
By staying vigilant and adjusting care as needed, you can address these common issues and ensure your aloe vera cutting thrives.
Incorporating Aloe Vera into Home Design
Aloe vera isn’t just a practical plant—it also makes a beautiful addition to home decor. Here are some creative ways to incorporate it into your space:
- Indoors: Aloe vera thrives indoors, especially in well-lit areas. Place it in a decorative pot or hanging planter near a window to create a striking focal point.
- Succulent Gardens: Aloe vera works beautifully in succulent arrangements. Combine it with other drought-tolerant plants for a modern, low-maintenance garden.
- Terrariums: Create a mini indoor garden by adding aloe vera to a terrarium. Pair it with stones, sand, and other small succulents for an elegant touch.
- On Shelves or Tables: Aloe vera can be placed on bookshelves or tables, adding a touch of greenery to your decor while providing health benefits like air purification.
Incorporating aloe vera into your home design not only enhances your space but also allows you to enjoy the plant’s many benefits.
Why Rooting Aloe Vera is Worth the Effort
Rooting aloe vera cuttings is a rewarding and worthwhile process. Not only does it allow you to propagate new plants, but it also helps you grow a reliable source of aloe vera for skincare, medicinal use, and even culinary purposes. With minimal effort and attention, you can create a thriving aloe vera plant that will provide long-term benefits, making the rooting process well worth your time.
Final Thoughts
Rooting aloe vera cuttings is a simple and effective way to grow new plants. Whether you choose to root in soil or water, the process is straightforward and highly rewarding. By following the right steps and providing proper care, your aloe vera cutting will thrive and offer numerous benefits for years to come.

I’m Shofi, a passionate gardener and blogger. I have 10+ years of experience in gardening and hold certifications in horticulture and garden design. I share my knowledge and skills through my garden blog to inspire and educate others on the joys of gardening. I try to provide valuable information and create a community for gardeners of all levels to connect and learn. My ultimate goal is to inspire others to start their own gardens and connect with nature.

