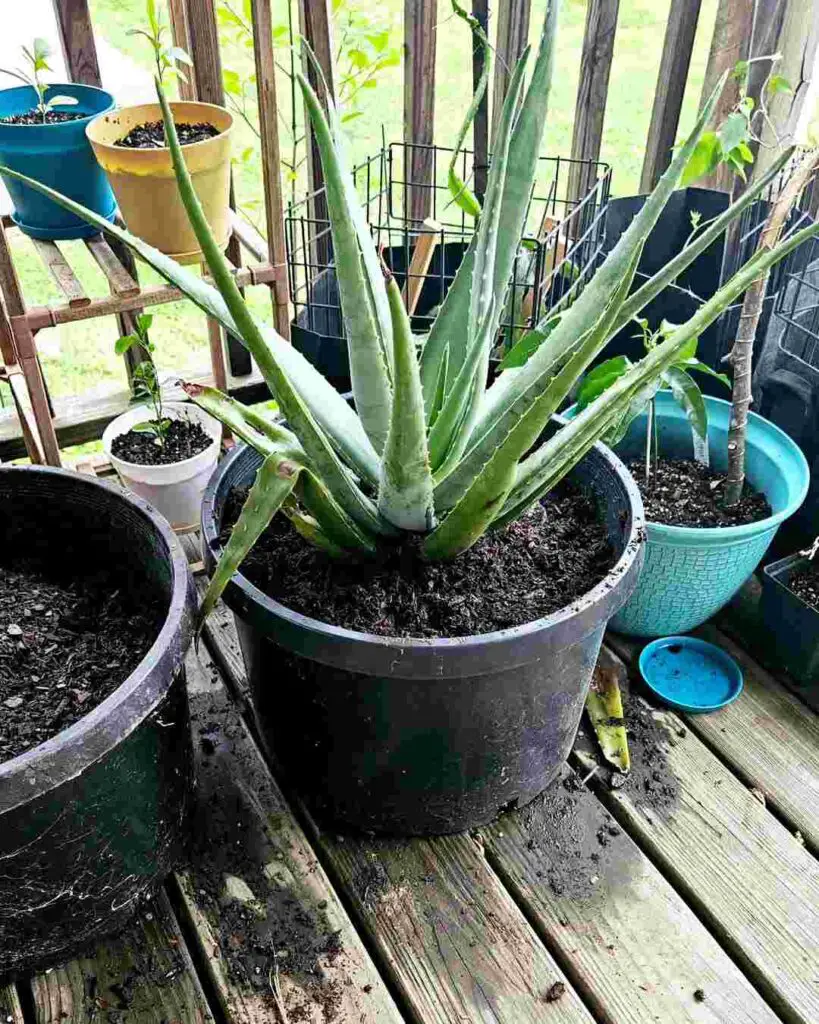
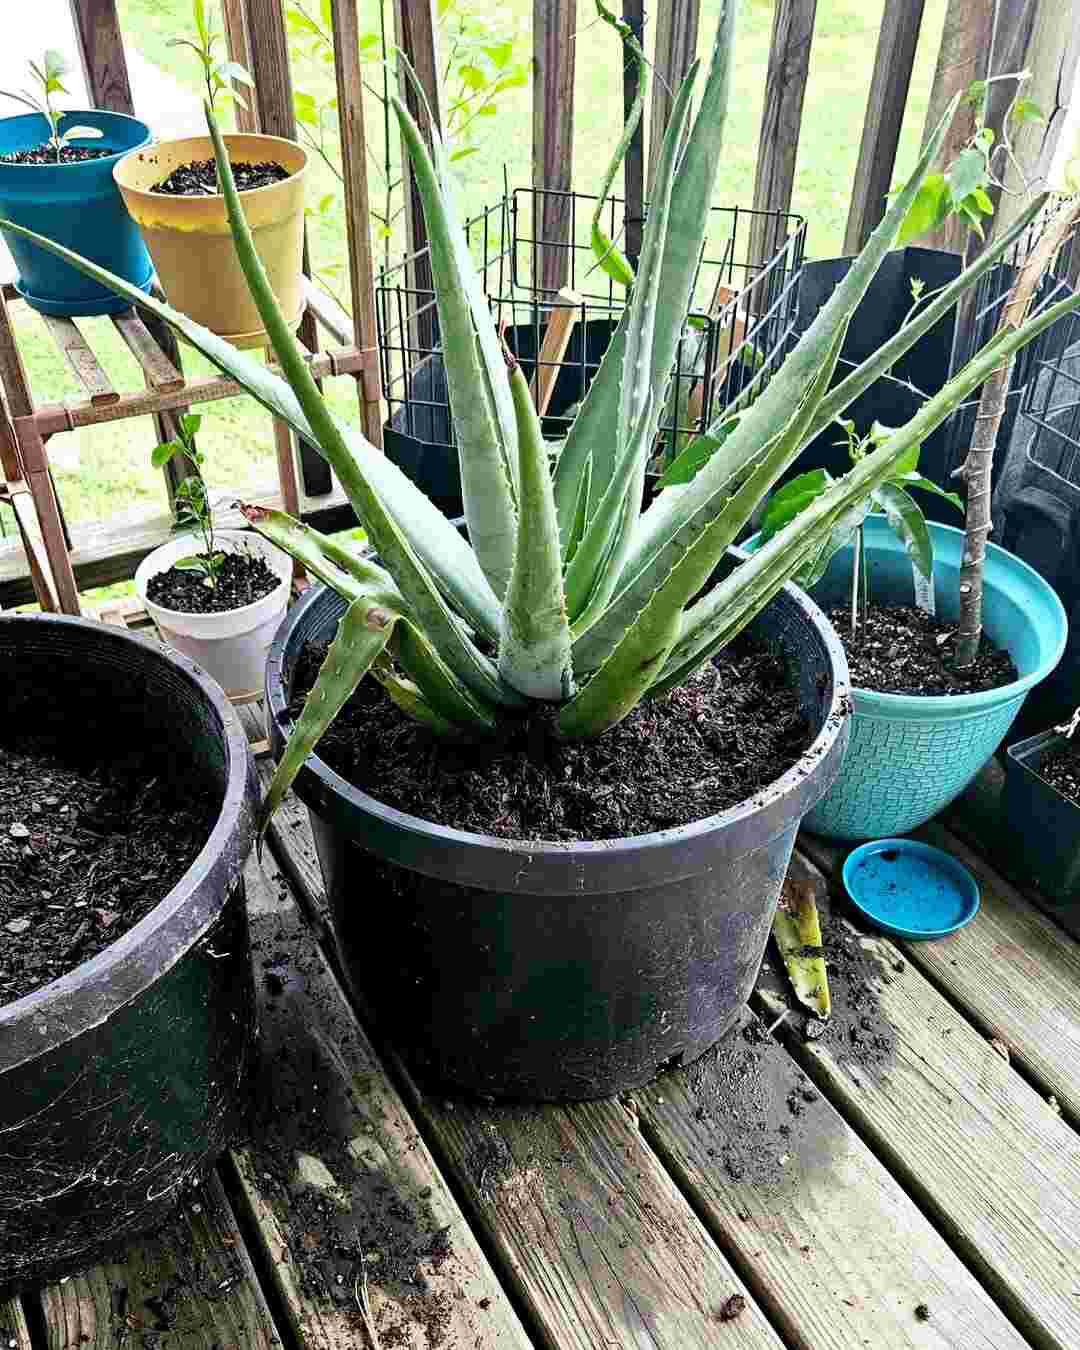
Reviving a dying Aloe Vera plant can be a challenging task, but with the right knowledge and care, it’s possible to bring it back to life. Aloe Vera is a resilient plant, but it requires specific conditions to thrive. If you’re wondering how to revive your dying Aloe Vera, it’s important to understand the plant’s needs and the steps involved in nurturing it back to health.
This guide will provide you with the essential tips and steps you need to follow to restore your Aloe Vera plant. From understanding the basics of Aloe Vera care to assessing damage and making necessary adjustments, these methods can make a significant difference in the plant’s health. Let’s dive into the key aspects of Aloe Vera revival.

Aloe Vera Care Essentials
Aloe Vera is a succulent known for its healing properties and low maintenance needs. However, it can still experience problems when its environmental needs are not met. Understanding the plant’s fundamental requirements is the first step in reviving it.
- Sunlight: Aloe Vera thrives in bright, indirect sunlight. Too much direct sunlight can cause its leaves to burn, while too little sunlight can lead to stunted growth.
- Watering Needs: Aloe Vera is drought-tolerant, meaning it does not require frequent watering. Overwatering is a common mistake that leads to root rot.
- Soil Requirements: A well-draining, sandy soil is ideal for Aloe Vera. It helps prevent water from accumulating around the roots, which can cause damage.
By ensuring your Aloe Vera is in the right environment, you provide it with the best chance for recovery. Understanding these basics is crucial to determine what might be going wrong with your plant and how to adjust accordingly.
Evaluating Aloe Vera Damage
Before taking any action to revive your Aloe Vera, it’s essential to assess the extent of the damage. Identifying the problem will guide your steps for care and recovery.
- Leaf Yellowing or Browning: This could indicate overwatering or too much direct sunlight. Inspect the base of the leaves for signs of rot.
- Soft, Mushy Leaves: This is a clear sign of overwatering. The plant may have suffered from root rot, and you’ll need to address this immediately.
- Dry, Crispy Leaves: If the leaves are dry or crispy, the plant might not be getting enough water or humidity. Check the soil to ensure it’s not too dry.
- Stunted Growth: If your Aloe Vera has stopped growing or seems weak, it might not be receiving enough light or nutrients.
After evaluating the plant, remove any damaged leaves and determine whether the root system has been affected. This will help you decide whether repotting or adjusting care routines is necessary.
Proper Watering Techniques for Aloe Vera
Watering is one of the most important factors in keeping Aloe Vera healthy. Since it is a succulent, it requires less frequent watering than other plants. Overwatering is a common cause of Aloe Vera decline, so it’s essential to get the watering routine just right.
- Watering Frequency: Water your Aloe Vera only when the soil is completely dry. During the growing season (spring and summer), this might be once every two to three weeks. In the dormant period (fall and winter), reduce watering to once a month.
- Watering Method: When you water, ensure the water reaches the roots. Water thoroughly, but never let the plant sit in water. Drain any excess water to prevent root rot.
- Signs of Overwatering: If your Aloe Vera’s leaves are turning yellow or mushy, it’s likely due to overwatering. Make sure the plant’s pot has drainage holes to allow excess water to escape.
- Signs of Underwatering: On the other hand, if the leaves are dry, shriveled, or crispy, the plant may not be getting enough water. If this is the case, hydrate it carefully and increase the frequency of watering.
By maintaining a proper watering schedule, you’ll be able to avoid root rot and dehydration, both of which can cause serious damage to your Aloe Vera plant.
Ensuring Adequate Light and Placement
Aloe Vera plants thrive when placed in the right amount of light. Inadequate lighting can cause your Aloe Vera to become weak and leggy, and even affect its healing process.
- Ideal Light Conditions: Aloe Vera needs bright, indirect sunlight to flourish. A south or west-facing window is usually the best spot in your home.
- Direct Sunlight: While Aloe Vera can handle direct sunlight, too much can lead to sunburn. If your Aloe Vera is exposed to harsh midday sun, consider moving it to a location with filtered light during the hottest part of the day.
- Signs of Insufficient Light: If the plant becomes elongated or “leggy,” it’s a sign it is not receiving enough light. You can remedy this by moving it to a sunnier location.
- Avoid Overexposure: Too much sun can cause the leaves to turn brown or reddish. If this occurs, reduce the exposure and move the plant to a more sheltered spot.
Correct lighting will help your Aloe Vera thrive and speed up its recovery process. Make sure it gets the right amount of light to ensure its overall health.
Choosing the Right Soil and Potting Conditions
The right soil and potting conditions play a crucial role in the health of your Aloe Vera. Aloe Vera prefers well-draining soil that prevents water from accumulating at the roots, which can lead to root rot.
- Soil Type: Aloe Vera thrives in sandy or cactus soil. These types of soil provide excellent drainage, allowing water to flow through quickly.
- Pot Choice: Always use a pot with drainage holes. This ensures any excess water drains out, preventing water from stagnating at the bottom and causing root rot.
- Repotting: If your Aloe Vera’s pot is too small or the soil is compacted, repotting it into a larger container with fresh, well-draining soil can help the plant recover.
- Soil Dryness: Ensure the soil is allowed to dry out completely between waterings. Consistent moisture in the soil can lead to fungal growth and root rot.
Repotting your Aloe Vera into fresh, well-draining soil and a suitable pot can provide the plant with the optimal environment for recovery and growth.
Managing Temperature and Humidity
Aloe Vera is a tropical plant that thrives in warm and dry conditions. While it’s relatively hardy, the right temperature and humidity levels are important for its revival.
- Ideal Temperature: Aloe Vera prefers temperatures between 59°F and 77°F (15°C to 25°C). Avoid exposing it to temperatures below 50°F (10°C) to prevent damage from the cold.
- Humidity Levels: Aloe Vera doesn’t need high humidity to thrive. It performs best in dry air, so placing it in a humid environment can cause issues like fungal infections.
- Temperature Fluctuations: Keep your Aloe Vera away from drafts, air conditioners, or heaters, as temperature fluctuations can stress the plant.
- Winter Care: During colder months, ensure your Aloe Vera is kept indoors, away from freezing temperatures, which could stunt its growth or kill it.
Maintaining consistent warmth and low humidity will create the ideal environment for your Aloe Vera to recover and grow healthily.
Identifying and Treating Aloe Vera Pests and Diseases
Aloe Vera can sometimes fall prey to pests and diseases, which can hinder its recovery. Early detection and treatment are key to saving your plant.
- Common Pests: Aloe Vera is susceptible to mealybugs, aphids, and scale insects. These pests suck the sap from the plant, causing wilting, yellowing, or stunted growth.
- Signs of Pest Infestation: Look for white, cotton-like clusters (mealybugs), sticky residues (aphids), or tiny bumps on the leaves (scale insects). If you spot these, act quickly to prevent further damage.
- Treatment: To eliminate pests, wash the leaves with a gentle stream of water or use a cotton ball dipped in rubbing alcohol to wipe away the insects. For more severe infestations, you can use an insecticidal soap.
- Diseases: Aloe Vera is also prone to fungal infections, particularly root rot. Overwatering and poor drainage are the main causes. If your Aloe Vera shows signs of rot, it’s important to remove the affected roots and repot the plant in fresh soil.
By keeping a close eye on your Aloe Vera and treating any pest or disease problems early, you can prevent significant damage and support its recovery.
Pruning and Maintenance for a Healthy Aloe Vera
Regular pruning and maintenance are vital for a healthy Aloe Vera. By removing damaged leaves and keeping the plant clean, you can help it recover faster and promote new growth.
- Remove Dead or Damaged Leaves: If your Aloe Vera has any yellow, brown, or mushy leaves, trim them off with clean scissors or pruning shears. This will help the plant focus its energy on healthy growth.
- Cleaning the Leaves: Dust can accumulate on the leaves, blocking sunlight. Use a damp cloth to wipe the leaves gently, ensuring they stay clean and able to photosynthesize effectively.
- Encouraging New Growth: Aloe Vera naturally produces offsets or “pups” that can be separated and replanted to grow into new plants. If your plant has multiple pups, you can remove them carefully and pot them separately.
- Fertilizing: Aloe Vera doesn’t need frequent fertilizing. During the growing season, you can feed it once every two months with a diluted, balanced fertilizer to encourage healthy growth.
Regular pruning and maintenance will ensure your Aloe Vera remains healthy and encourages new growth, speeding up its revival.
How to Propagate Your Aloe Vera for New Growth
If your Aloe Vera is struggling but you see healthy pups or offsets, propagating the plant can be a great way to ensure new growth. Propagation can help you restart the growth process and save the plant if it’s too far gone.
- Identifying Pups: Aloe Vera produces pups at the base of the plant. These small offshoots can be separated and replanted once they have developed their own roots.
- Separation Process: Gently remove the pup from the mother plant by loosening the surrounding soil. Ensure that the pup has enough roots to survive on its own.
- Planting the Pup: Once separated, plant the pup in a pot with well-draining soil. Make sure the soil is lightly moistened, but do not overwater.
- Caring for the New Plant: Place the newly potted pup in a warm, sunny location and care for it just as you would an adult Aloe Vera plant. Water it only when the soil is dry and avoid exposing it to direct sunlight for extended periods until it becomes established.
Propagating your Aloe Vera is a great way to ensure new growth and help rejuvenate a struggling plant.
Final Thoughts
Reviving a dying Aloe Vera requires patience and attention to detail. By addressing its watering, light, soil, and pest needs, you can help the plant recover and thrive once again. With the right care, Aloe Vera can bounce back and continue to flourish in your home.

I’m Shofi, a passionate gardener and blogger. I have 10+ years of experience in gardening and hold certifications in horticulture and garden design. I share my knowledge and skills through my garden blog to inspire and educate others on the joys of gardening. I try to provide valuable information and create a community for gardeners of all levels to connect and learn. My ultimate goal is to inspire others to start their own gardens and connect with nature.

